Efficient Lambda Deployment with PowerShell Scripting

When deploying code to a Lambda function it can be helpful to automate the process to some extent. While you can set up github actions, and many other fancy pipelines, when I am working on a small simple project I find it easier just to script the deployment process like this.
In this short tutorial we will set up a Lambda Deploy Script with NPM, Github, WS CLI and a deploy script to make use of it.
Project Folder Structure Link to heading
The project I wrote this for has a main folder with the projects name, we will just call it project. Below is an example of how the files and folders are laid out to work with the script
project/
|-- portal/
|-- Lambda/
    |-- .git/
    |-- node_modules/
    |-- deploy.ps1
    |-- index.js
    |-- package.json
    |-- package-lock.json
    |-- README.md
    |-- deploy.ps1

alphaLambdraProject.zip
Setup NPM: Link to heading
npm init
If you need to use node_modules just run the npm init and follow the prompts
install any node modules required and be sure to run
npm install
npm init: This will configure npm so you can use node modules npm install This will install the modules so when you deploy your function they are available.
Github Setup Link to heading
You will need to install a git repository software which interfaces with Powershell. I personally use git but Github Desktop may be a better fit if you are not comfortable with the command line and git yet.
git init
git add --all
git commit -m "Initial Upload"
git branch -M production
git checkout -b alpha
git remote add origin {Origin from your git provider}
git push origin alpha;
This is just a typical git deploy. I tend to name my branches production, beta, and alpha. I set production as my main branch and then work on alpha, push up through beta, and finally to production.
git init: This sets up the empty respository locally
git add –all: This adds all existing files to the repo. Make sure to include a .**gitignore if you want to exclude any files or folders.
git commit -m “initial upload”: Here we set a commit message for the initial commit.
git branch -M production: This sets the main branch as production
git checkout -b alpha: This creates a new branch called alpha and switches to it
git remote add origin: This sets up the origin we will push our code to.
git push origin alpha: This pushes the code up to the remote alpha branch
AWS Setup Link to heading
A full AWS setup is beyond the scope of this tutorial. However, you will need to have an S3 bucket and Lambda function set up in your chosen region. The S3 bucket path and Lambda function name will be important later on in this article.
AWS CLI Configuration Link to heading
First go to the AWS Website and download the CLI
Open PowerShell and run the following command to setup the AWS CLI
aws configure --profile profileName
you will be required to enter your AWS access key, secret key, region, and output type.
profile attribute Link to heading
You do not need to use –profile if you only have one AWS account. However, if you are using multiple accounts setting up a profile is very important so you can pick which one you are using for each CLI action.
If you need to see or edit your profiles you can see them under the .aws profile in your home folder. This is usually in C:\Users{userName}.aws
You can access it by going into power shell and typing
cd ~
cd .aws
ls

You will get something like that. You can edit the files easily as long as you have Visual Studio Code installed just type in
code credentials
code config
Those two file hold all of the settings for your AWS CLI and can be updated there or viewed there if you have forgotten your profile name. The best way to update them again though is to run your AWS Configure command again as we did above.
Setting up your AWS access key and secret Link to heading
In your AWS Account Click on the Account Name in the upper right
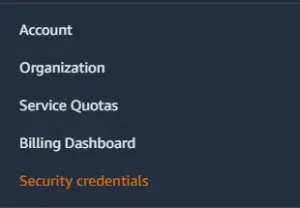
To get your AWS access key and secret key go into your aws account, click on your profile name in the upper right, and click on “Security Credentials” as shown above.
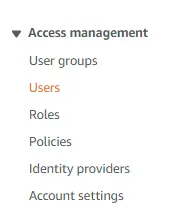
I am assuming you are the administrator on your account, if you are not you may need to follow different steps. On the left hand side, as shown above, click on “Users”.
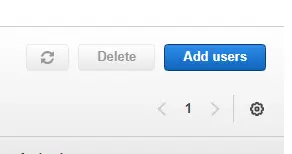
Click on “Add Users” in the upper right hand corner of this screen
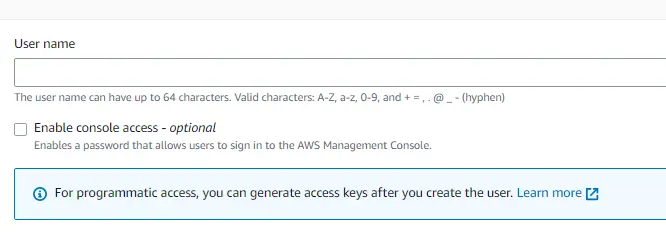
Here you will specify a username, and do not click “Enable console access” then click “Next” in the lower right hand corner.
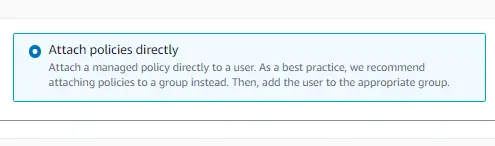 I usually pick “Attach policies directly” since my personal projects are small with very few people. More advanced set ups you would likely specify user groups. By attaching policies directly you can control what each user has access to and limit the damage that can be done if your keys get leaked somehow.
Security Policy Required Link to heading

The first policy is AmazonS3Full Access.
Next we need a custom access policy. Click “Create policy” which will open in a new tab.
Click Json and paste in the following
{
    "Version": "2012-10-17",
    "Statement": [
        {
            "Sid": "VisualEditor0",
            "Effect": "Allow",
            "Action": "lambda:UpdateFunctionCode",
            "Resource": "*"
        }
    ]
}
Click “Next Tags” then “Next Review”
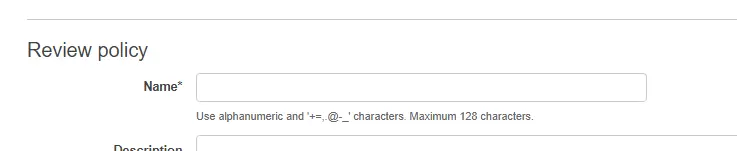
Fill out the policy name and then click “Create policy” in the lower right hand corner.
Close the tab and click the refresh button next to “Create policy”

Search for the new policy and select it just like you did with the S3 policy
Click “Next” and then after verifying everything click “Create User”

You will be taken back to the user list. Click on the users name and then in the new window that comes up click on “Security credentials” in the center of the screen.
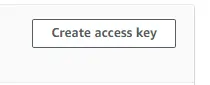
Scroll down to “Access keys” and click “Create access key”


Select “Command Line Interface (CLI). You can ignore the Alternatives recommended. While the AWS CloudShell is great for some use cases it would not be for our case. In a production environment you may want to consider setting up the AWS CLI V2 with IAM Identity. However, that is beyond the scope of this tutorial.
Click the checkbox to confirm you understand the recommendations and then click “Next”
Enter a Description tag value if you wish and click Create access key.
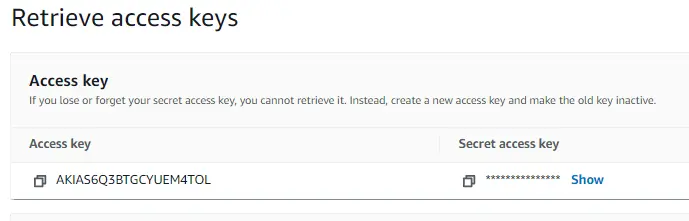
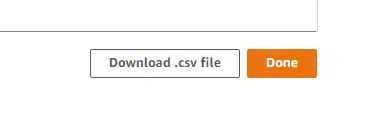

You can click to show your Secret access key right away to enter into the CLI, or you can download the .csv file with it. Make sure you store it someplace secure. I usually store my files in an encrypted drive or in my password manager that has full encryption. Note the Access key best practices.
Once you are done you will be able to use your new key and secret.
Setting up your region and output Link to heading
Your region will be whatever region you are deploying in. I normally use us-east-2.
Your output should be set to json
Now your AWS CLI is fully set up we can move on to configuring your Powershell Script
Powershell Deploy Script Link to heading
Now onto our Lambda Deploy Script. Create a new file named deploy.ps1
param($branch);
$deployFile, $deployFunction;
$localPath = "D:\Projects\project";

if ($branch -eq "alpha") {
    $deployFile = "alphaLambdaproject.zip";
    $deployFunction = "alphaAPI";
} elseif ($branch -eq "beta") {
    $deployFile = "betaLambdaproject.zip";
    $deployFunction = "betaAPI";
} elseif ($branch -eq "production") {
    $deployFile = "lambdaproject.zip";
    $deployFunction = "API";
} else {
    Write-Host "Invalid branch name";
    exit;
}

git checkout $branch;
Compress-Archive -Path "$($localPath)\Lambda\*" -DestinationPath "$($localPath)\$($deployFile)" -Force;
aws  s3 --profile project cp "$($localPath)\$($deployFile)" s3://deploy.project.ai/$($deployFile);
aws lambda --profile project update-function-code --function-name $($deployFunction) --s3-bucket deploy.project.ai --s3-key $($deployFile) | Out-Null;
Write-Host "Deployed $($deployFunction) from $($deployFile) on Git $($branch)"
param($branch): This line allows us to bring in variables from the command line. The name of the variable is how you will enter it in. For example you call this one with -branch {value}
$deployFile, $deployFunction: Here I set up the variables I will use later in the script. Note all variables start with a dollar sign,
$localPath: I use this variable to save the path the rest of the script will use
if, elseif, else: This code block just checks if the input branch matches one we have setup. If it does it will set the variables and continue. If the branch is not found then it will write the error message and exit. Two things to note here are instead of else if it uses elseif. Also instead of == or === they use -eq to check if a value is equal.
git checkout branch: I just have this here to make sure we are deploying from the correct branch. This could be improved by watching for the prompts output and stopping if the branch cannot be switch.
Compress-Archive: This line here zips the folder and saves it where we can grab it for the deploy
aws s3: Here we use the aws command line to get our local zip file and push it to an S3 bucket previously configured to hold our deployment. This S3 bucket is completely private.
aws lambda: Here we deploy to our lambda function. We tell lambda to look for the file at the s3 bucket location and deploy it. Using | Out-Null stops any of the normal 3-4 pages of lambda output from displaying.
Write-Host: Finally we display information about the deploy.
Running Link to heading
Finally to run it in PowerShell navigate to the folder the file is in. Run the following command.
.\deploy -branch alpha